Kymber Keaton
Background:
My background in Disaster Risk Reduction (DRR) falls over 9 years throughout the United States military, state, federal, and tribal emergency response operations. Additionally, to support my work, I have earned both my bachelor’s and master’s in emergency management and Community Resilience. I was well equipped professionally and academically to assist VIN with this program. I am very passionate about DRR as it protects people and saves lives.
Methodology and Preparations:
Before I arrived to VIN HQ I was given basic instruction on what my program should cover, as well as a report from the previous DRR project. I reached out to the volunteer who did that work and received additional advice. He strongly encouraged me to add in a medical component because the women in the communities responded the most to those lessons.
I prepared by lesson plan using ChatGPT asking the program to create a 1-hour lesson to Nepali women on disaster risk reduction that covered before, during, and after the disaster topics. Once I arrived at VIN and started my work at Women’s Business Center (WBC) I showed my plan, and we made some appropriate adjustments.
Below is the finalized outlined lesson plan:
1-Hour Women’s Empowerment for Basic Emergency Disaster Preparedness
Focus: You Are Strong. You Are Capable. You Can Protect Your Family TODAY
Objective: Equip Nepali women with practical, immediate actions to prepare before, during and after for disasters—focusing on what she can do right now, without relying on fiscal assistance.
Introduction: Women’s Strength (5 minutes)
Personal Connection:
- “I am a woman, just like you. And I can do this. That means YOU can too.”
- “We already protect our families every day. Preparing for earthquakes is another way we do that.”
- Quick Icebreaker: “Who here has felt an earthquake? What did you do? What were your first thoughts of safety and places to get to?”
- BEFORE THE EARTHQUAKE: PLANNING (15 minutes)
Set a Family Evacuation Plan
- Pick TWO safe places:
- First choice: An open field, away from buildings and trees (school yard, rice field, temple courtyard).
- Backup place: If the first is blocked, pick a second location nearby.
- Tell your family and practice going there!
- * Optional activity: Have them write down or say out loud say where they will tell their families to go.
Make a Small “Go-Bag” 
- A bottle of clean water
- A whistle (to call for help if trapped)
- A scarf or cloth (for warmth, dust protection, or first aid)
- A small snack (dried food, nuts)
- A family contact list (where to meet, emergency numbers)
- *Optional activity: Demonstrate putting these items into a bag, any bag.
- Keep it somewhere easy to grab—near front door.
3. Make Your Home Safer
- Move heavy objects off high shelves—put them lower so they don’t fall.
- Keep a flashlight near your sleeping area.
- Secure important documents in an easy to grab place, maybe in go-bag.
- DURING THE EARTHQUAKE: What to Do in the Moment (5 minutes)
- If inside:
- DROP under a table, COVER your head, HOLD ON.
- Stay away from windows!
- If outside:
- Run to an open space (do not stand near buildings or trees).
- If on a mountain path, be alert for falling rocks.
- If trapped:
- Use a whistle or bang on something loud.
- Cover your mouth with a cloth to avoid dust
- AFTER THE EARTHQUAKE: Immediate First Aid (25 minutes)
- STOP BLEEDING – THE MOST IMPORTANT THING
- Direct pressure first: Press hard on the wound with cloth or your hand.
- If it keeps bleeding: Use a scarf, shawl, or any clean fabric to tie around the wound.
- If its STILL bleed, you will need to do a tourniquet:
- Wrap 2-3 inches above the bleeding area, tight enough to stop bleeding, stop the circulation
- RECORD THE TIME THAT TOURNIQUET WAS TIED FOR DOCTOR!!!
- DO NOT remove the cloth if it soaks through—just add more layers.
- Demonstration: Show how to press on a wound and tie a makeshift bandage.
- BROKEN BONES
- Use wood, bamboo, or cloth to make a splint so the limb stays still.
- DO NOT try to “fix” or straighten a broken bone.
- Demonstration: Show how to make a splint using a scarf and stick.
- IF SOMEONE IS UNCONSCIOUS
- Verbally call out, then physically check if they are breathing.
- Look for rise and fall of chest, and listen for breathing sounds
- If NOT breathing: Try chest compressions .
- Demonstration: Quick hands-only CPR explanation.
- Break down each step: Where the legs go, how the hands are folded, how hard to push.
- I used a popular Nepali song, Kutu Ma Kutu, as a beat to the CPR to help remember.

- Verbally call out, then physically check if they are breathing.
- FINAL SAFETY CHECKS
- Check cooking fires – turn off stoves to prevent fire.
- Check house for damages.
- Grab go-bag and head to designated family evacuation spot.
- Closing: Q & A (5 minutes)
- Ask: “What is one thing you will do today to prepare?”
- Let them share their thoughts, answer any questions.
- Thank them for their strength and time!
- *Optional: Pass out whistles and certificates


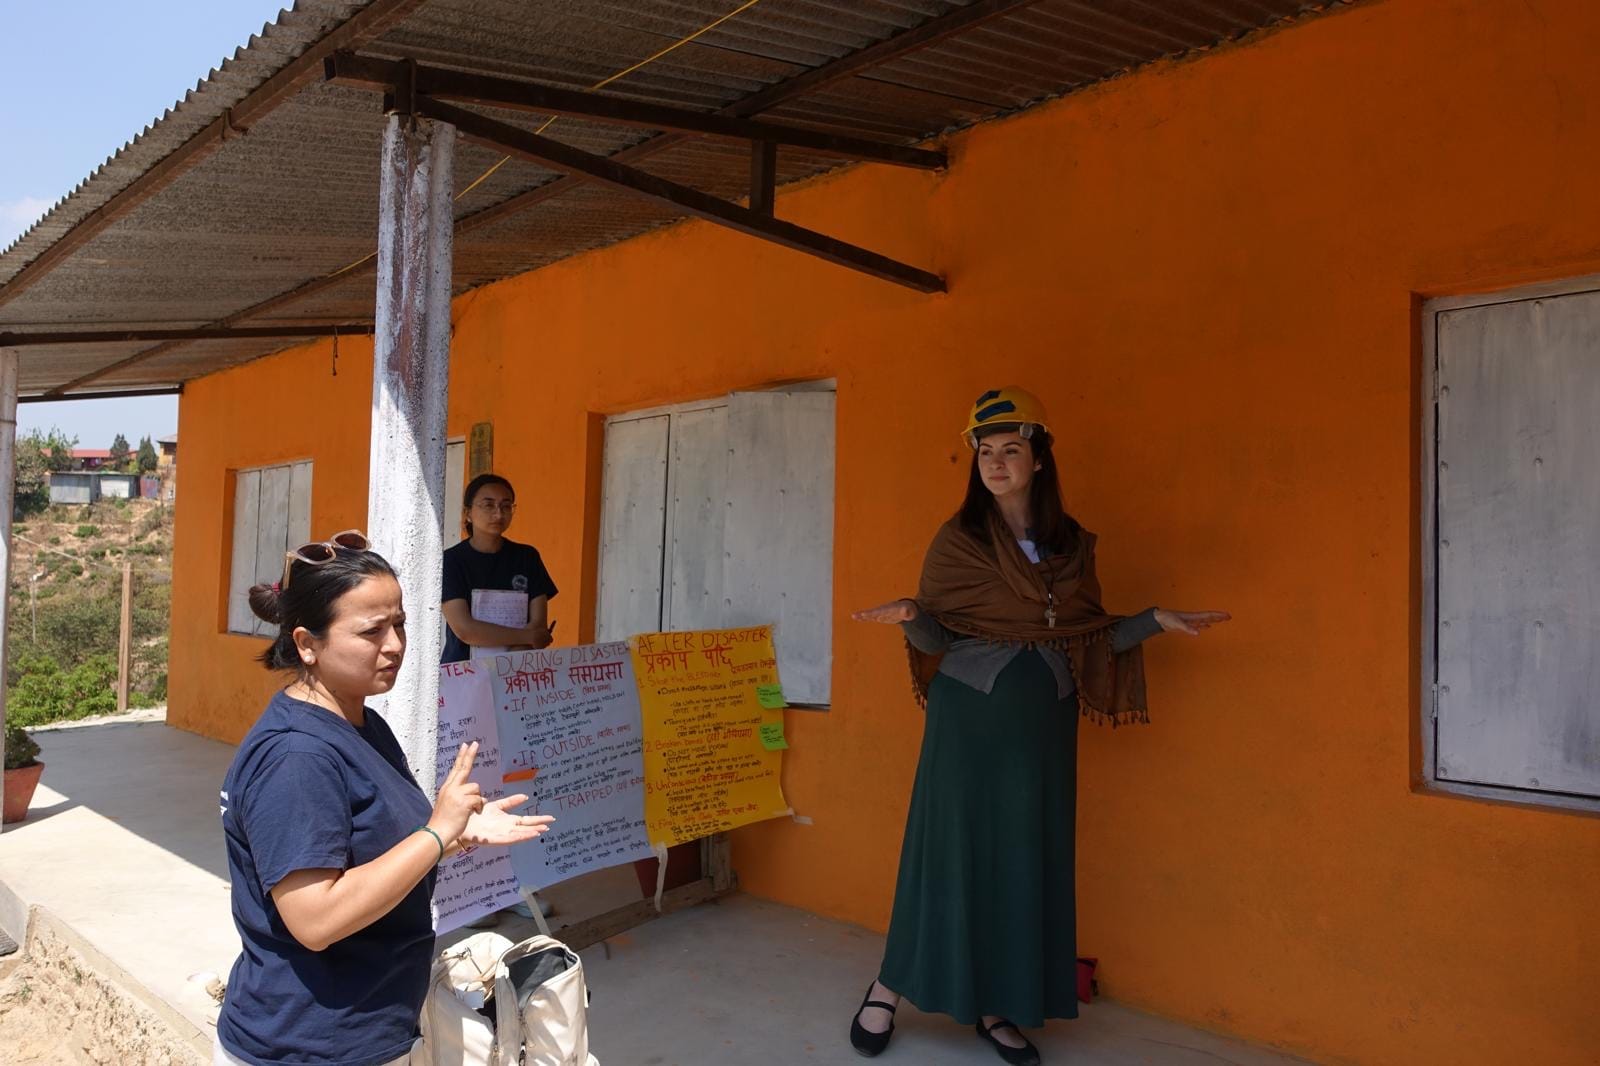
Results and Findings
It takes approximately 10 minutes to set up. Tape is a necessary tool, specifically duct tape, as the communities do not have a lot of areas to hang the posters up, and it is best views chronologically: before, during, and after. The whistles were a gift I gave during the presentation when it seemed the focus was being drifted. Whistles are a cheap and easy gift to bring that can save someone’s life and are trapped under a building. (While it is not necessary to do provide this, I would highly encourage the next volunteer to continue to supply such a small gift. $20 on amazon for 50 pack)
When there were a lot of side conversations, I spoke louder- it demanded attention and kept the focus on the me and the material. Additionally, I would act out or say small things in Nepali like “lala or tsch cha” to keep focus and keep things entertaining. The translator team and I rehearsed at least once before presenting. This was significantly useful as they were able to work out translation questions ahead of time. Additionally, it builds a good report with the translator and helps the flow for the real thing. In the end, she would say things I forgot, or vice versa. It was a good flow. Do note that presenting with a translator slows things down, so while the lesson may be a certain time, add on another 10 minutes for translating.
Additionally, I provided the women individual certifications of completion. This is something we do in America for any course, 30 minutes to 3 days. Education is taken very seriously here in Nepal, and maybe families covet these certifications, as small as they may seem. There was some back and forth with VIN on the distribution of the certificates. The concern was that it may instill false confidence in the women, in their ability in skill, since it is such a quick class. I insisted that it provides a sense of induvial accomplishment as well as something the women did herself, not her husband or her family, but her. In the end, we agreed to clear up the verbiage and state what exactly they learned on the certification. If this is to be continued, it would need to be addressed before hand, but I feel it is an important part of the program- and should be applied to ALL VIN educational programs.
Lastly, cleaning up takes another 10 minutes. Your material ends up weighing a lot, and some communities are far, so prepare for that. Overall, the women in the community were extremely happy to receive this training. They were incredibly engaged and excited to learn, especially the medical portion. Most of the feedback received included women saying they will prepare a go-bag today! Which is incredibly successful. The information regarding what to do during had the least bit of attention as most people seemed to already know what to do. However, they were surprised to learn the smaller tips such as moving heavy objects to the floor 


 Member of